Embedding on Your Site
There are several ways to add your SAR Portal public portal to your website: embed it in a page with an iFrame, or link to it from your privacy policy, a button, your footer or your contact form.
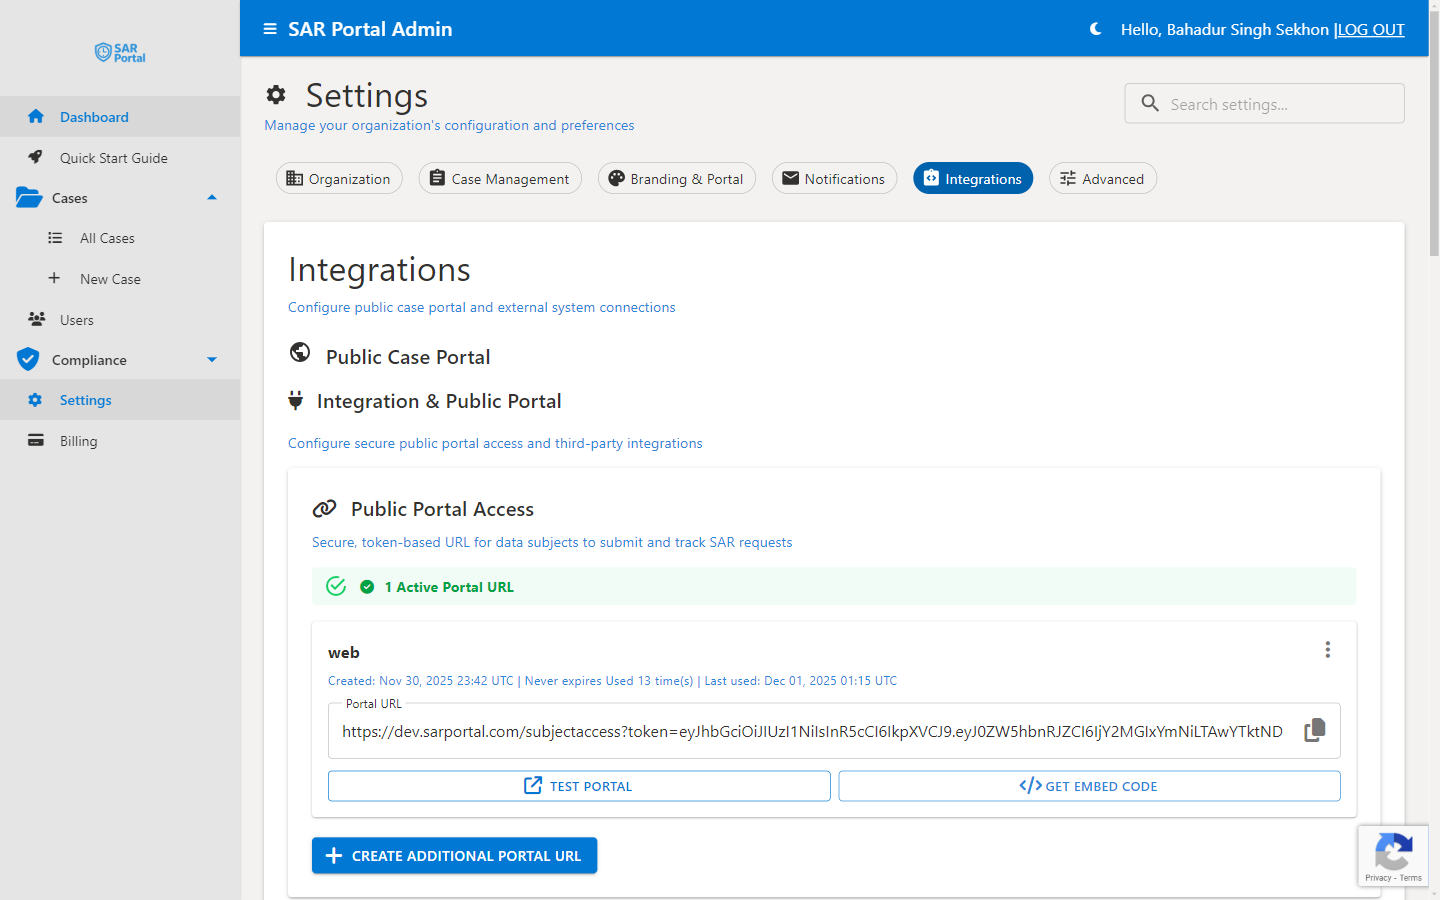
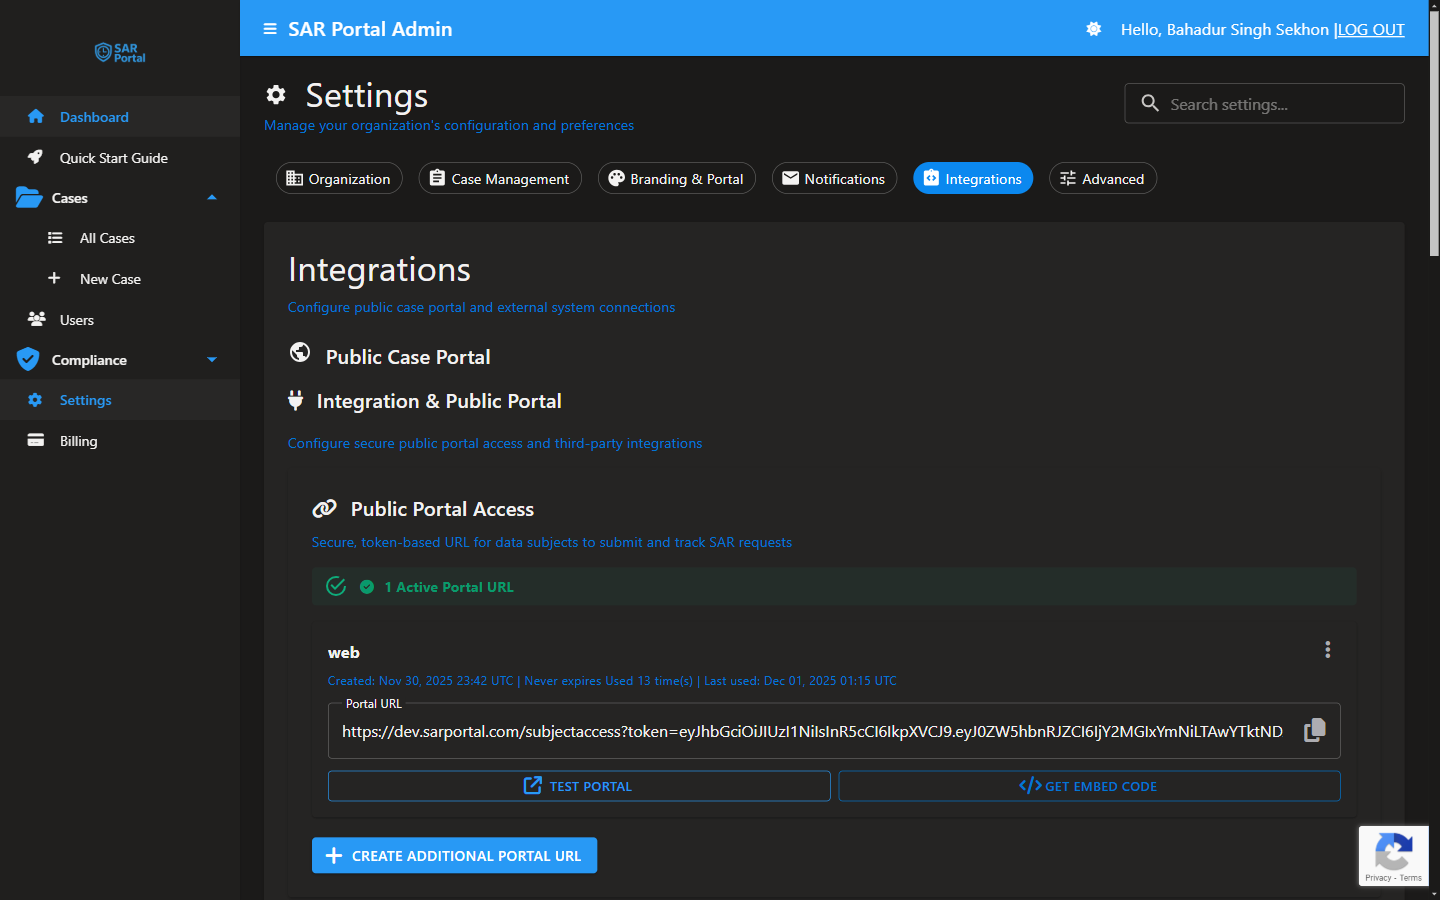
Finding Your Portal Link
- Log into SAR Portal
- Go to Settings > Integrations
- Find the Public Portal Access section
- If there is no link yet, click Generate New Portal URL
- Copy the Portal URL with the copy icon, or click Get Embed Code
Your link format:
https://app.sarportal.com/subjectaccess?token={portal-token}
The token identifies your organization’s portal. The same link is used to submit a request and, afterwards, to track it and download files.
The only optional parameter is embed=true, which gives the embedded layout described below. No other parameters are read; you cannot pre-fill the email address or request type.
Option 1: Embed with an iFrame
Embedding keeps requesters on your own website.
- In Settings > Integrations > Public Portal Access, click Get Embed Code on the portal URL
- In the Embed Public Portal dialog, open the iFrame (Embedded) tab
- Copy the iFrame Embed Code and paste it into your web page
The code looks like this:
<iframe src="https://app.sarportal.com/subjectaccess?token=YOUR-TOKEN&embed=true"
    width="100%"
    height="600"
    frameborder="0"
    style="border: none; border-radius: 8px;"
    title="Subject Access Request Portal">
</iframe>
In embedded mode:
- The header shows only “Subject Access Request” (no logo, no company name heading)
- The footer is one line: “GDPR Compliant: Processed by SAR Portal on behalf of {your company name}” with a Privacy link
- Your chosen font still applies
The portal can be framed only when the link includes
&embed=true. A link without it will not load inside an iFrame on another website.
Option 2: Direct Link
The simplest approach is linking to the standalone portal, which shows your logo, company name and full footer. The Direct Link (Standalone) tab of Get Embed Code gives you ready-made HTML Link Code.
In Your Privacy Policy
<p>
  To exercise your data protection rights, please visit our
  <a href="https://app.sarportal.com/subjectaccess?token=YOUR-TOKEN">
    Subject Access Request Portal
  </a>.
</p>
As a Button
The Button (Standalone) tab gives you Button HTML Code styled with your Navigation Bar Color (background) and Primary Color (text). Or write your own:
<a href="https://app.sarportal.com/subjectaccess?token=YOUR-TOKEN"
   class="btn btn-primary">
  Submit Data Request
</a>
In Footer Navigation
<nav class="footer-links">
  <a href="/privacy/">Privacy Policy</a>
  <a href="/terms/">Terms of Service</a>
  <a href="https://app.sarportal.com/subjectaccess?token=YOUR-TOKEN">
    Data Requests
  </a>
</nav>
Option 3: Dedicated Page
Create a page on your site that explains the process and links to (or embeds) the portal.
Example Page Content
<h1>Your Data Rights</h1>

<p>
  Under GDPR, you have the right to access, correct, or delete
  your personal data. We take these rights seriously and have
  created a secure portal to handle your requests.
</p>

<h2>What You Can Request</h2>
<ul>
  <li><strong>Access</strong> - Get a copy of your data</li>
  <li><strong>Correction</strong> - Fix inaccurate information</li>
  <li><strong>Deletion</strong> - Remove your data</li>
  <li><strong>Portability</strong> - Transfer your data</li>
</ul>

<h2>How to Submit a Request</h2>
<ol>
  <li>Click the button below to open our secure portal</li>
  <li>Enter your email address</li>
  <li>Verify it with the one-time code we email you</li>
  <li>Enter your name, select your request type and submit</li>
</ol>

<p>We will respond within one month as required by GDPR.</p>

<a href="https://app.sarportal.com/subjectaccess?token=YOUR-TOKEN"
   class="button">
  Submit Request
</a>
Only list the rights you have enabled in Settings > Case Management > Enabled Request Types, because the portal offers only those.
Option 4: Contact Form Integration
Add a data request option to your existing contact form.
Concept
- Add “Data Request” as a contact reason
- When selected, show a link to the portal
Example
<form>
  <label>How can we help?</label>
  <select id="contactReason" onchange="handleReason()">
    <option value="">Select...</option>
    <option value="sales">Sales Inquiry</option>
    <option value="support">Support</option>
    <option value="dsar">Data Privacy Request</option>
  </select>

  <div id="dsarRedirect" style="display:none;">
    <p>For data privacy requests, please use our secure portal:</p>
    <a href="https://app.sarportal.com/subjectaccess?token=YOUR-TOKEN">
      Go to Data Request Portal
    </a>
  </div>
</form>

<script>
function handleReason() {
  var reason = document.getElementById('contactReason').value;
  var dsarDiv = document.getElementById('dsarRedirect');
  dsarDiv.style.display = reason === 'dsar' ? 'block' : 'none';
}
</script>
Managing Portal URLs
You can have several portal URLs at once, for example one for your website and one for a campaign.
Creating a URL
- Click Generate New Portal URL (no URL yet) or Create Additional Portal URL
- Enter a Label (Optional), for example “Main Portal”
- Choose an Expiration: Never expires, 30 days, 90 days, 1 year or Custom date (then pick the Expiry Date)
- Click Generate URL
Each active URL shows its label, created date, expiry and how many times it has been used.
Decommissioning a URL
Click the three-dot Decommission button on the URL (or the Decommission button in Token History), then click Decommission in the dialog to confirm. The link stops working at once: data subjects can no longer use it to submit or track requests.
Token History
Token History lists every portal URL, active, expired and decommissioned, with its Status, Label, Created, Expires and Usage. Delete permanently removes a token record; this cannot be undone.
When a URL expires or is decommissioned, every copy of it on your website stops working. Requesters see “Invalid, expired, or decommissioned token. Please request a new link from the organization.” Update your website, and tell requesters with open cases the new link, before you retire the old one.
Styling Considerations
Opening in a New Tab
<a href="https://app.sarportal.com/subjectaccess?token=YOUR-TOKEN"
   target="_blank"
   rel="noopener noreferrer">
  Submit Request
</a>
Matching Your Brand
The standalone link shows your company name and, on Pro and Enterprise, your logo, primary colour and font. The embedded iFrame shows no logo or company name heading. Set branding in Settings > Branding & Portal. See Portal Customization.
SEO Considerations
For Direct Links
- Use descriptive anchor text
- Include the dedicated page in your sitemap
- Add rel=“nofollow” if preferred
For Privacy Policy
Your privacy policy should explain how people exercise their data rights. A link to your portal gives them a clear way to do it.
Testing Your Integration
After adding links or the iFrame:
- Click the link - Check it opens your portal (or click Test Portal in Settings)
- Check branding - Make sure your logo and colours appear on the standalone link
- Test on mobile - Confirm the page and any iFrame are usable on a phone
- Submit a test request - Check the end-to-end flow and the confirmation email
- Check case creation - Confirm the case appears in Cases
Analytics
SAR Portal does not report which website link a case came from. To measure traffic to the portal, add UTM parameters to your links and read them in your own web analytics:
https://app.sarportal.com/subjectaccess?token=YOUR-TOKEN&utm_source=website&utm_medium=footer&utm_campaign=dsar
The portal ignores these parameters, so they do not affect the request.