User Management
User management allows you to invite team members and control their access to SAR Portal. Managing users is Admin-only.
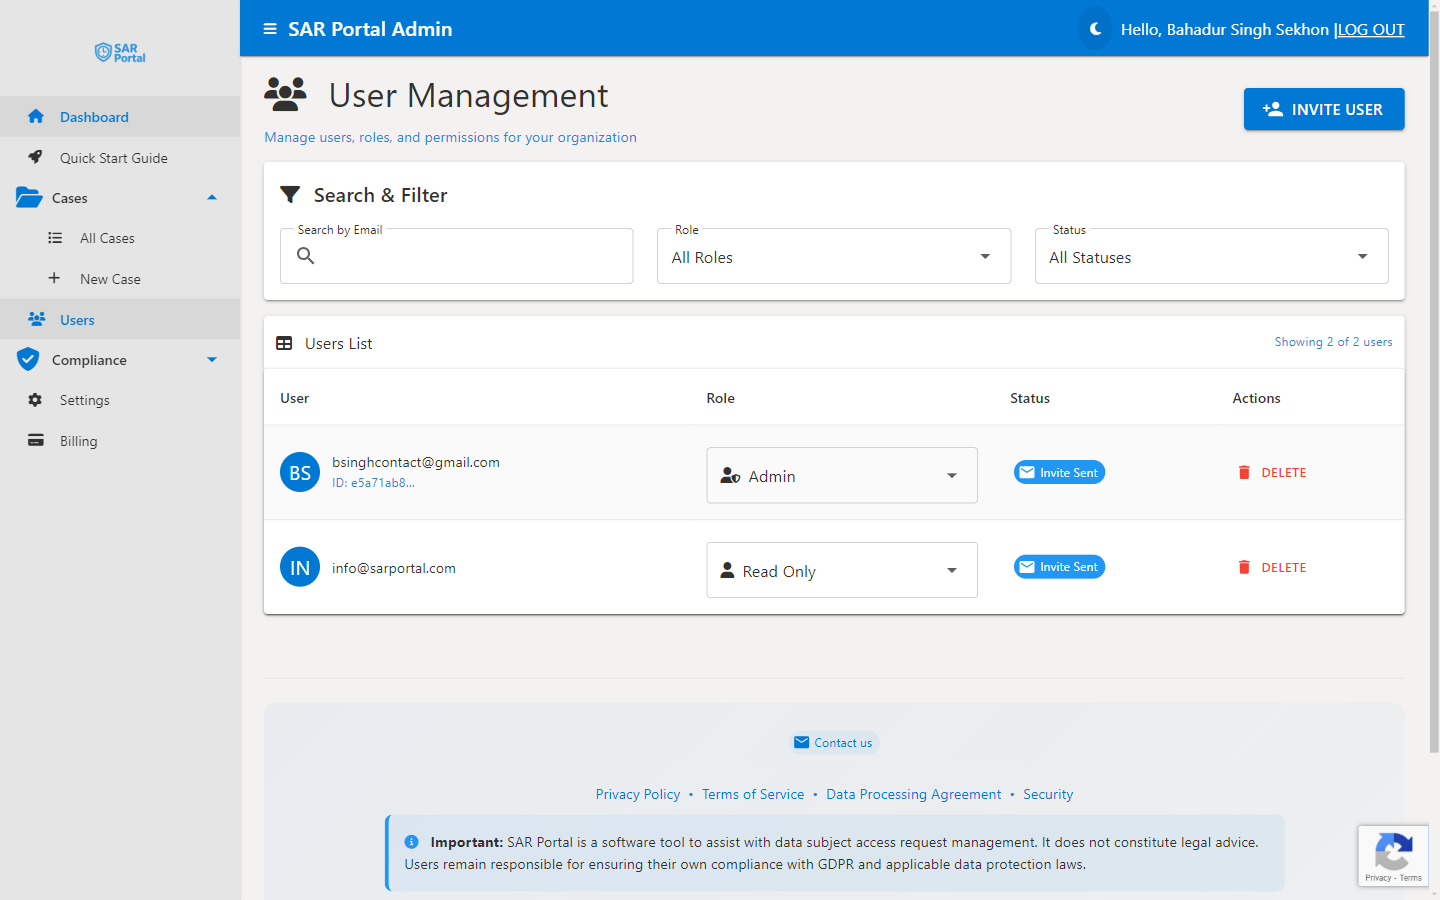
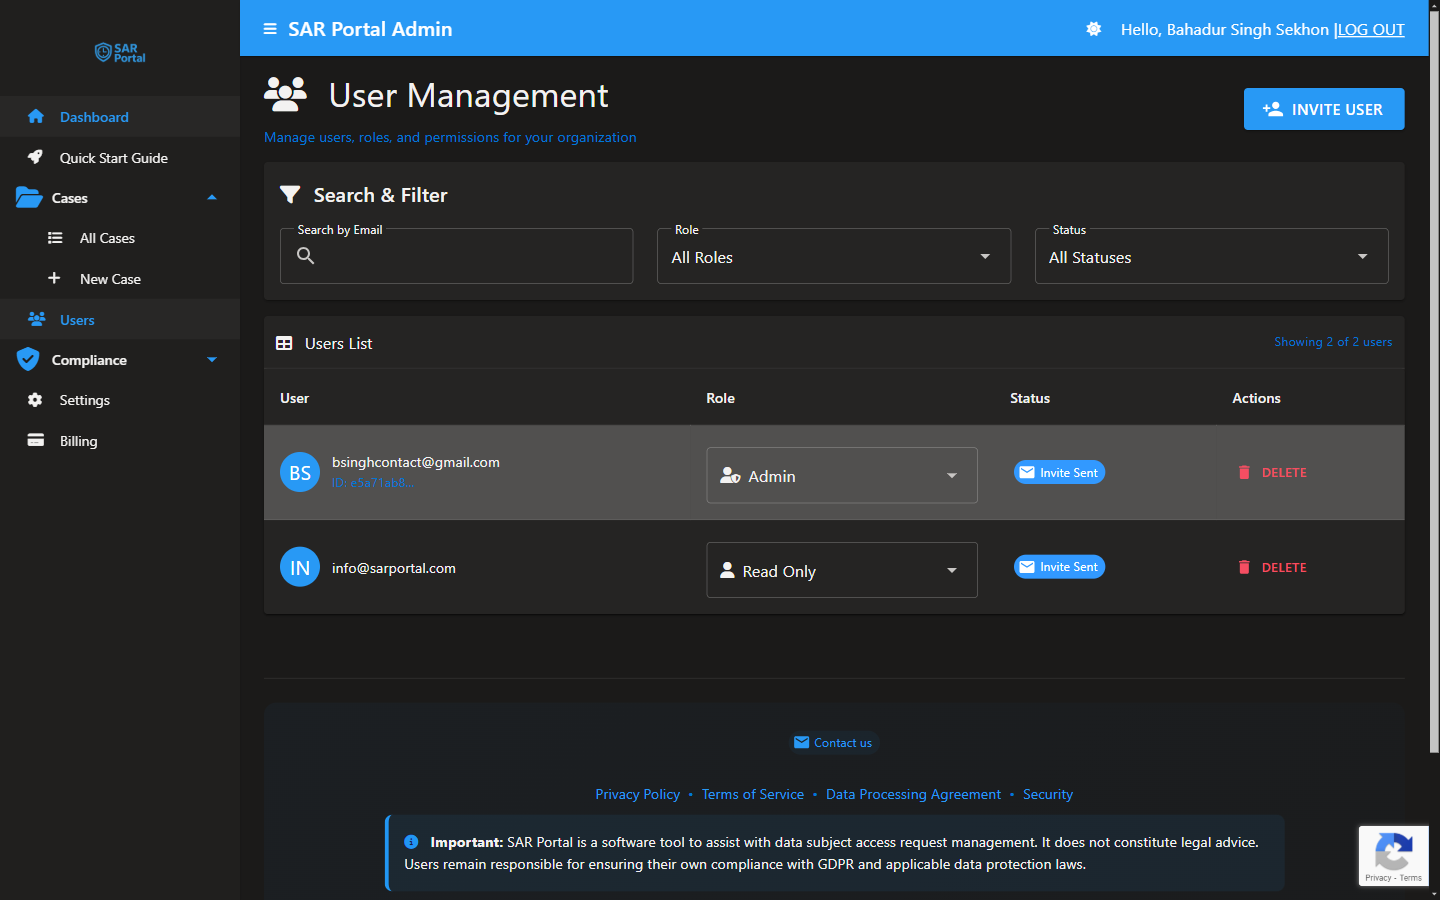
Accessing User Management
- Click Users in the sidebar
- View all users in your organization in the Users List
- Use Search & Filter to find specific users
User List
Each row shows:
- User: email address and avatar
- Role: a dropdown you can use to change the role
- Status: a chip showing the account status
- Actions: Resend Invite (for invitations not yet accepted) and Delete
Deleted users are hidden from the list.
Inviting Users
Send an Invitation
- On the Users page, click the Invite User button to open the invite page
- Enter the user’s Email Address
- Choose a role from the User Role dropdown (Admin, Case Manager, Reviewer, or Read Only — each option shows a short description)
- Click Send Invitation
What Happens Next
- The user receives an invitation email
- They click the link in the email
- They sign in and their account is set up
- They gain access based on their role
Invitation Expiry
Invitations expire after 7 days. If an invitation has expired or was not received, click Resend Invite on the user’s row to send a fresh invitation. You do not need to delete the user first.
User Statuses
| Status | Meaning |
|---|---|
| Active | User has accepted the invitation and can sign in |
| Invite Sent | Invitation sent, not yet accepted. Resend Invite is available |
| Invited | Invitation created, not yet accepted. Resend Invite is available |
| Pending Verification | The account is waiting to be verified |
| Error | Something went wrong setting up the account. Contact support if it persists |
Managing Existing Users
Change Role
- Find the user in the list
- Click the role dropdown in the Role column
- Select the new role
- The change applies immediately
You cannot change your own role — another admin must do it for you. You also cannot change the role of your organization’s only active admin: make another user an admin first, and that user must have signed in at least once (status Active).
Delete User
- Find the user
- Click Delete
- In the Delete User dialog, check the email and role, then click Delete User
Deleted users:
- Lose access straight away and are removed from sign-in
- Disappear from the user list
- Free up a seat on your plan
- Can be invited again later with the same email address
The organization’s cases and documents are not affected. Audit entries the user created keep their email address.
User Limits
Your plan determines maximum users:
| Plan | User Limit |
|---|---|
| Basic | 1 user |
| Starter | 3 users |
| Pro | 10 users |
| Enterprise | 50 users |
If you are at the limit:
- Delete users who no longer need access
- Or upgrade your plan (see Plans & Pricing)
Search and Filter
Search by Email
Type in the Search by Email box to find users by email address.
Filter by Role
Use the Role filter to show only users with that role (or All Roles).
Filter by Status
Use the Status filter: All Statuses, Invite Sent, Synced (shown as “Active” in the list), Errored, Invited or Pending Verification. Click Clear Filters to reset.
Best Practices
Principle of Least Privilege
- Assign the minimum role needed
- Review roles periodically
- Promote only when necessary
Regular Audits
- Review user list quarterly
- Remove departed employees promptly
- Verify active users still need access
Secure Invitations
- Verify email addresses before inviting
- Follow up on pending invitations
- Don’t share invitation links
Related
- Roles & Permissions - Understanding role capabilities
- Account Deletion - Deleting your own account or your organization
- Plans & Pricing - User limits by plan